Making Stunning Video Time Lapse: A Complete Guide
In today's visual-centric world, the significance of video content cannot be overstated. Among various techniques, video time lapse has emerged as a powerful tool in the arsenal of creators and businesses. This article will delve deep into the art of creating captivating time lapse videos, offering you insights, tips, and step-by-step instructions to make video time lapse that stands out.
Understanding Video Time Lapse
Before diving into the practical aspects, it's crucial to understand what video time lapse really is. Essentially, a time lapse video involves capturing a series of images at set intervals to record changes that take place slowly over time. When these images are played at normal speed, they create an illusion of time moving faster than it actually does. This technique is widely used in various fields, including:
- Photography Stores & Services: Offering comprehensive packages for enthusiasts.
- Photographers: Showcasing their creative work through innovative video techniques.
- Real Estate Photography: Highlighting properties in an engaging manner.
Why Use Time Lapse in Your Videos?
The use of video time lapse brings numerous benefits to content creators and businesses alike:
- Engagement: Time lapse videos are visually captivating and can significantly enhance viewer engagement.
- Storytelling: They allow creators to tell a story of transformation or the passage of time in a short duration.
- Educational Purposes: Ideal for demonstrating processes or changes such as flower blooming, construction projects, or even sunsets.
- Creativity: Offers a creative flair that can distinguish your content from the competition.
How to Prepare for Making a Time Lapse Video
Creating an exceptional time lapse video requires careful planning and considerations. Here’s a detailed breakdown of steps:
1. Select Your Subject Wisely
Your choice of subject can make or break your time lapse video. Consider these popular subjects:
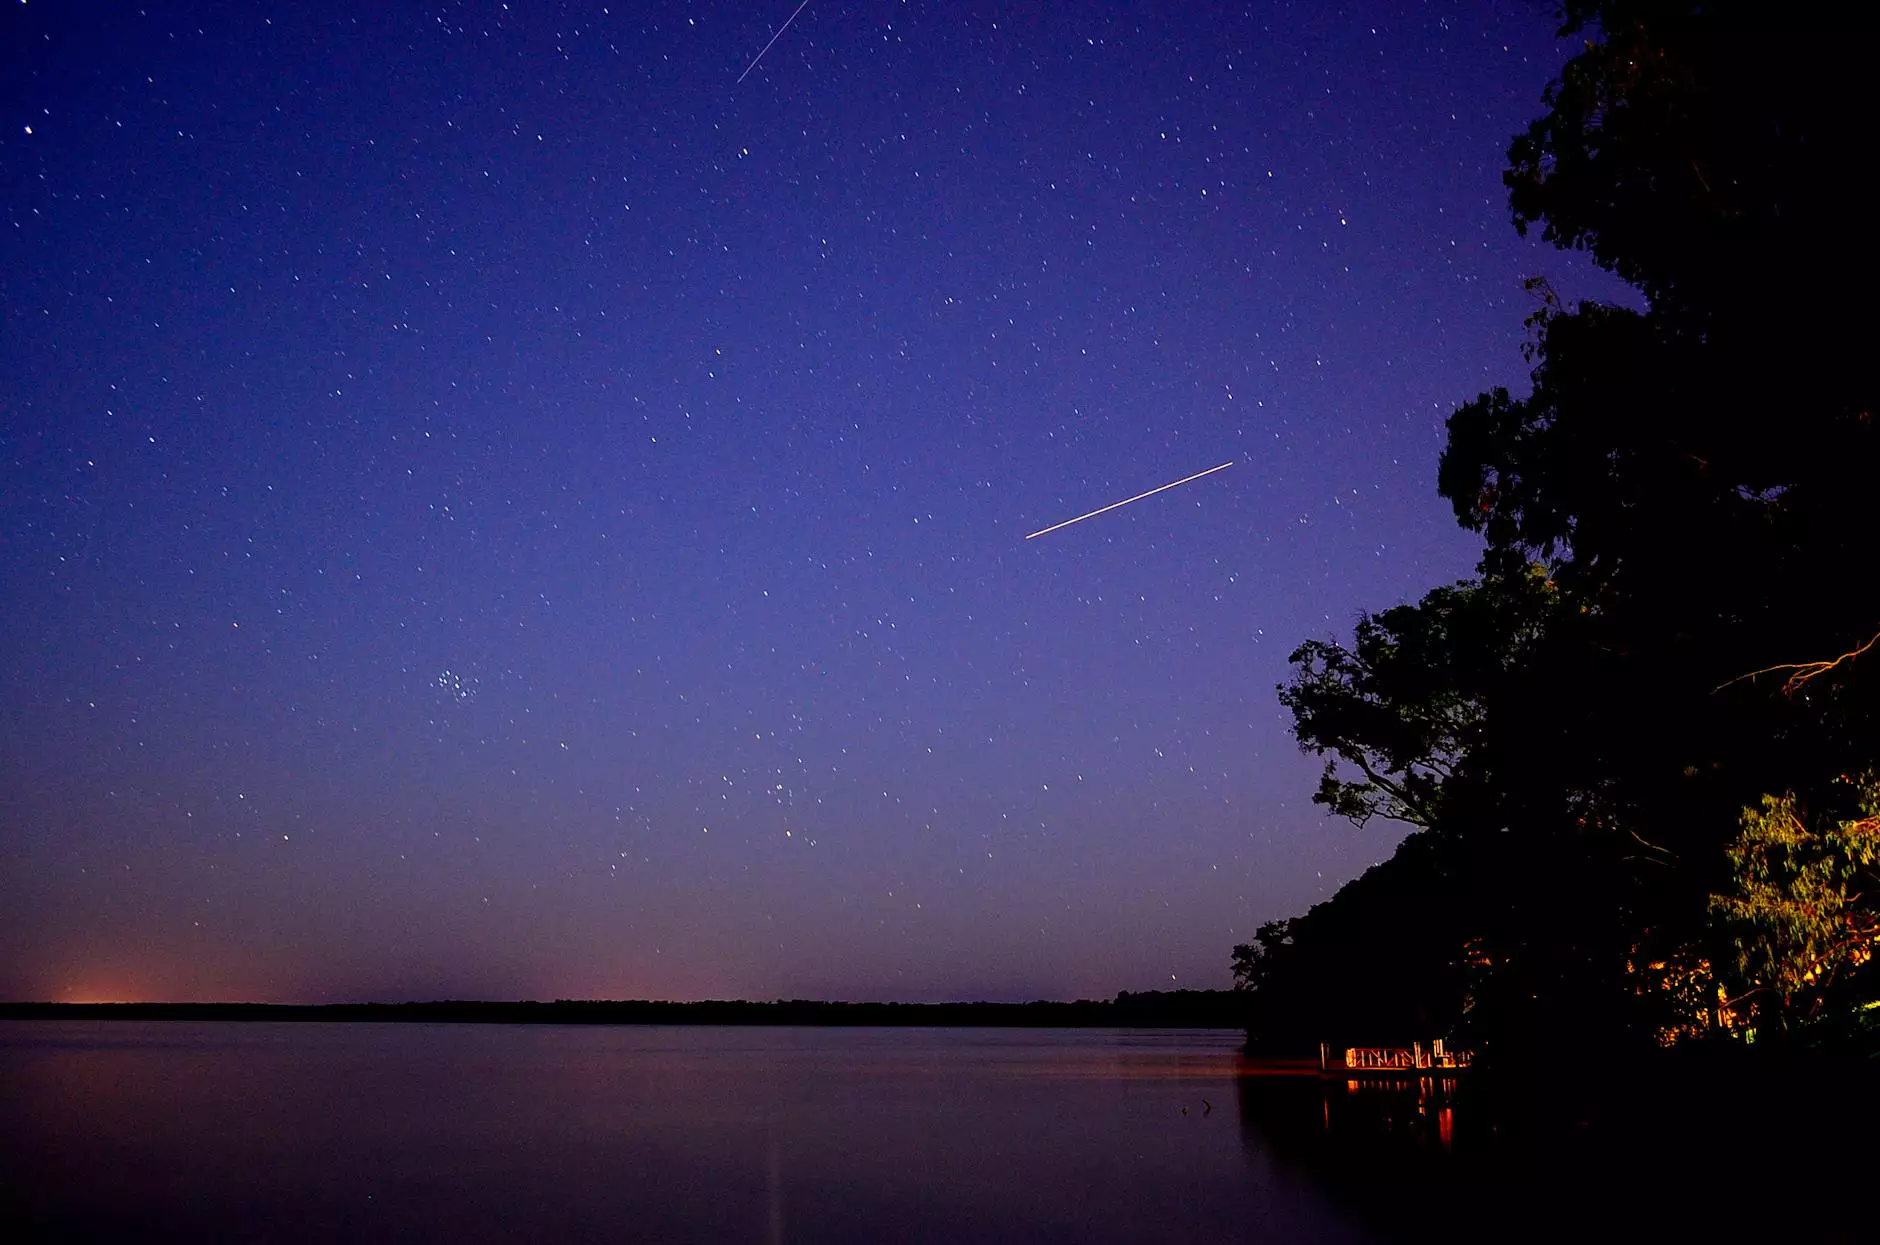
- Nature Scenes: Capture the beauty of sunsets or the blossoming of flowers.
- Urban Life: Document the hustle and bustle of a city or construction sites.
- Event Progress: Illustrate events like a wedding setup or an art piece being created.
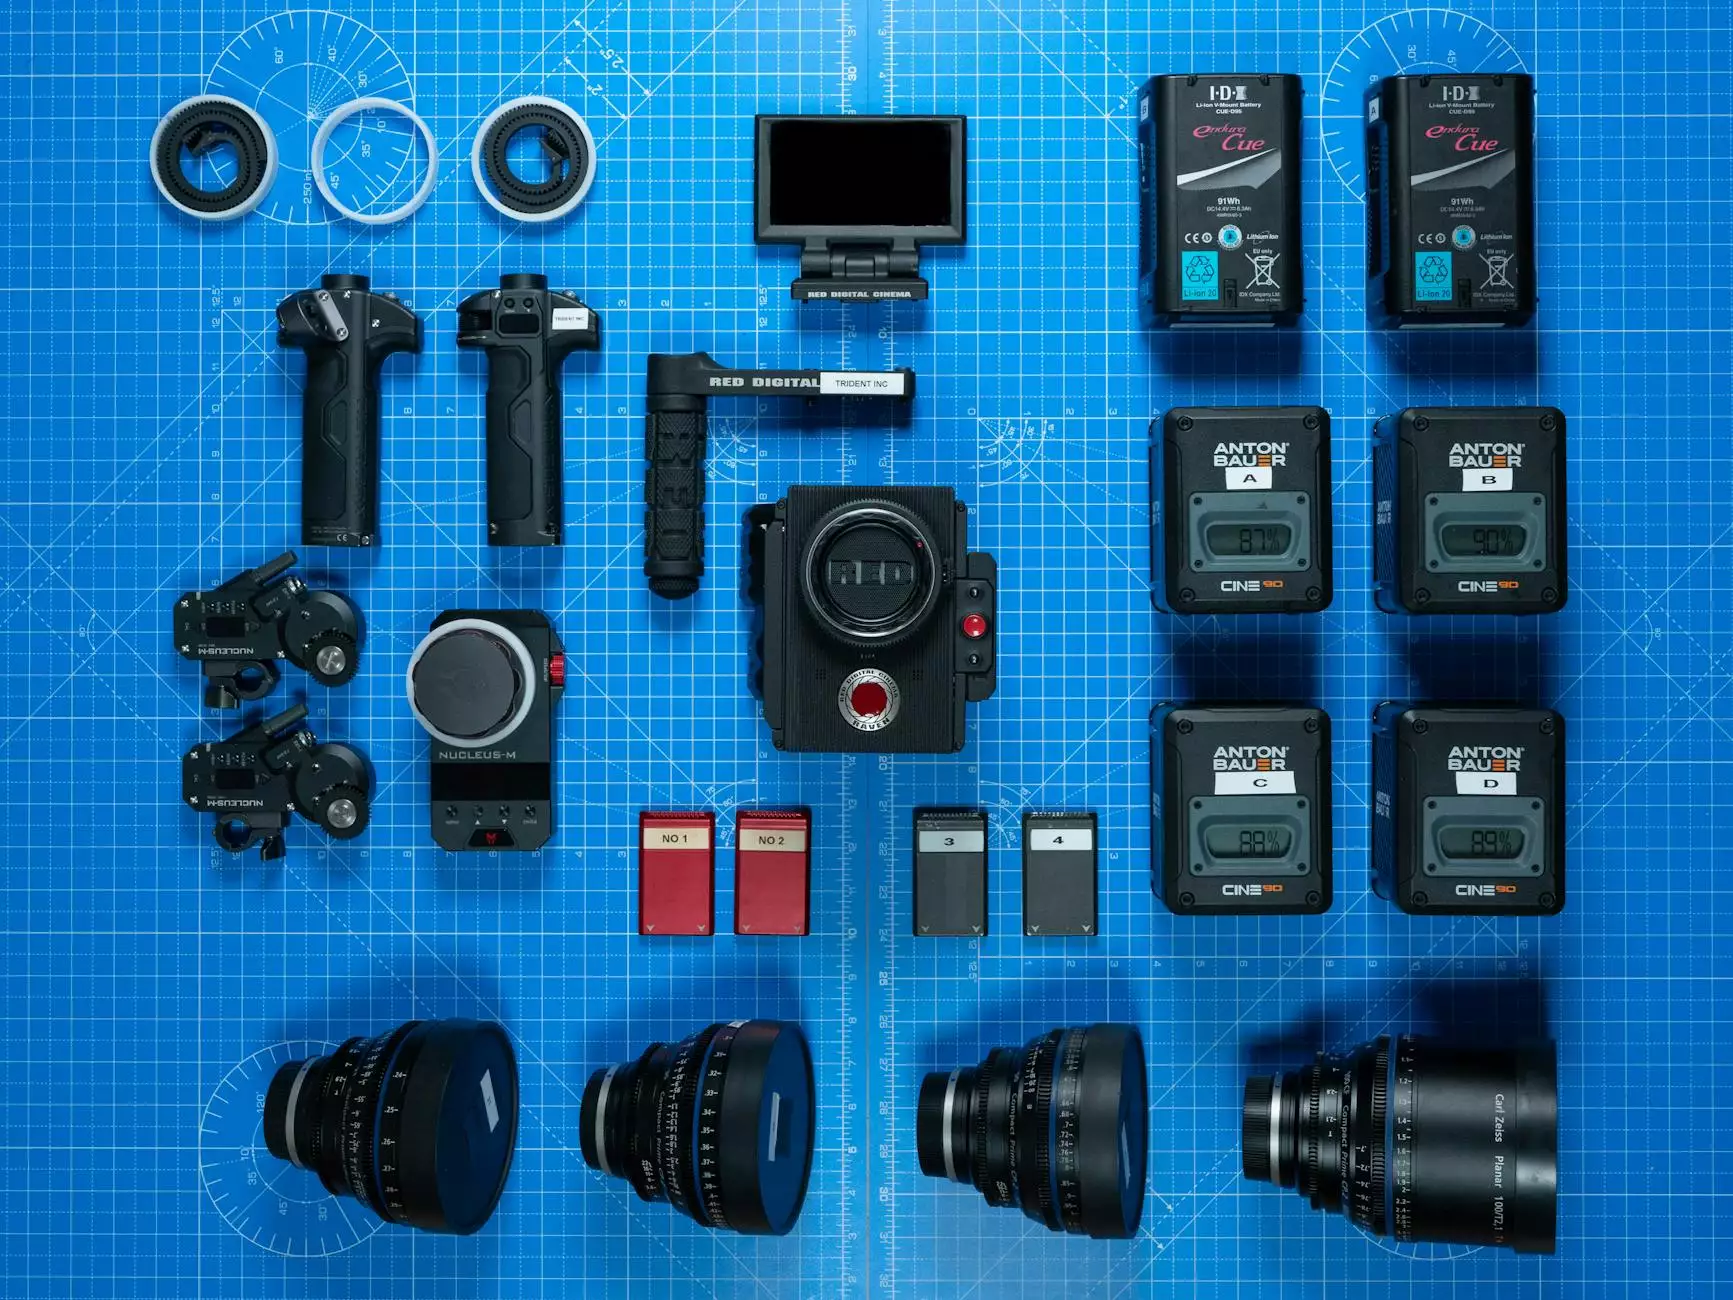
2. Choose the Right Equipment
Investing in or choosing the right equipment is essential. Here’s what you might need:
- Camera: DSLR or mirrorless cameras are ideal for high-quality shots.
- Tripod: A sturdy tripod ensures stability and consistency in your shots.
- Intervalometer: This device will help automate the shooting process at set intervals.
3. Plan Your Shots
Sketch out a plan or storyboard outlining how you envision your final product. Consider factors like:
- Duration of the final video.
- The time interval for capturing shots.
- Lighting conditions throughout the shooting duration.
Techniques to Make Video Time Lapse
Once you’ve prepared, it’s time to create your video time lapse. Here’s a step-by-step technique:
1. Set Up Your Camera
Choose a stable platform to mount your camera. Ensure it’s level to avoid unwanted panning or tilting during the shoot.
2. Configure Camera Settings
Key settings include:
- ISO: Set to the lowest number suitable for your scene to avoid grainy footage.
- Aperture: Use a mid-range aperture like f/8 for a balanced depth of field.
- Shutter Speed: Adjust according to the movement speed of your subject.
3. Choose Your Interval
The interval between shots will depend on the subject being recorded. For example:
- Flowers blooming might require intervals of 10-15 seconds.
- Cloud movements may only need 5-10 seconds.
- Construction processes could require up to 30 seconds intervals.
4. Start Shooting
Once your setup is complete, initiate the shooting process using your intervalometer. Make sure you have enough memory and battery life for the duration of the shoot.
5. Review Footage and Edit
Once you’ve captured all your images, it’s time to compile them into a video. Tools such as:
- Adobe Premiere Pro
- Final Cut Pro
- iMovie
These software options allow you to upload your images, set the frame rate, and create a cohesive video.
Tips for Enhancing Your Video Time Lapse
To ensure your time lapse videos truly pop, consider these enhancements:
1. Incorporate Sound
Add a soundtrack or sound effects to provide an auditory dimension that complements the visuals.
2. Use Transitions
Smooth transitions can help in maintaining flow and keeping the audience engaged.
3. Experiment with Speed
Varying the playback speed can create dramatic effects and capture attention.
Examples of Great Time Lapse Videos
Viewing examples can serve as inspiration. Here are a few notable videos:
- Time Lapse of Cityscapes: Showing the vibrant life of urban areas.
- Nature Time Lapses: Capturing the essence of changing seasons.
- Art in Action: Recording the creative process of artists.
Conclusion
In conclusion, mastering the technique to make video time lapse can greatly enhance your creative portfolio and engage your audience more effectively. From selecting the right subject and equipment to understanding the nuances of shooting and editing, the possibilities are endless. Whether you are in the realm of Photography Stores & Services, Photographers, or Real Estate Photography, incorporating time lapse videos can elevate your content to new heights.
By following the steps outlined in this guide, you can create stunning time lapse videos that showcase your unique perspective and creativity. Remember, practice makes perfect, so don’t hesitate to experiment and refine your technique as you go! Happy shooting!